This is a motorized paint stirring tool which I modded to be used as a sander. I cut the pronged tip off and vacuformed a housing. An off center weight was added to the shaft. When turned on it vibrates. There is a flat section (left underside) that I can attach custom sanding blocks. This tool is used to polish hard to reach areas.
The tool is being used to polish down the knock out fixes in the firewall. On the real vehicle the firewall is made out of plywood. It is not painted with the body color but is stained and clear coated.
Here you can see the plywood fire wall.
Not a fan of this kind of connector, it would be visible when the body is glued in place. I am also not keen on gluing big assemblies like this in place.
Taking the saved sprue, I shape it into a square cone.
While forcing it in, liquid glue is a applied.
Cut off and let dry.
Sand down and polish.
Check the fit of all parts constantly as you are building.
Decided to build another tool. I drilled a hole into a scrap of the PE.
The sharp edges are filed and it is cut to fit into a handle.
Because it is round, it is useful for taking the parting line off of round parts.
I try to get other parts together as I work that will need time to set. The two parts of the leather top don't match up well.
I use a file to make the gap wider.

Using the sprue once again, I stretch it and use sections to fill the channel.
I use liberal amounts of liquid cement to soften the area and push it in like putty.
Once it is dry, the area is sanded to shape. I find you can get a flawless surface, as the plastic bonds to the sprue it came from perfectly.
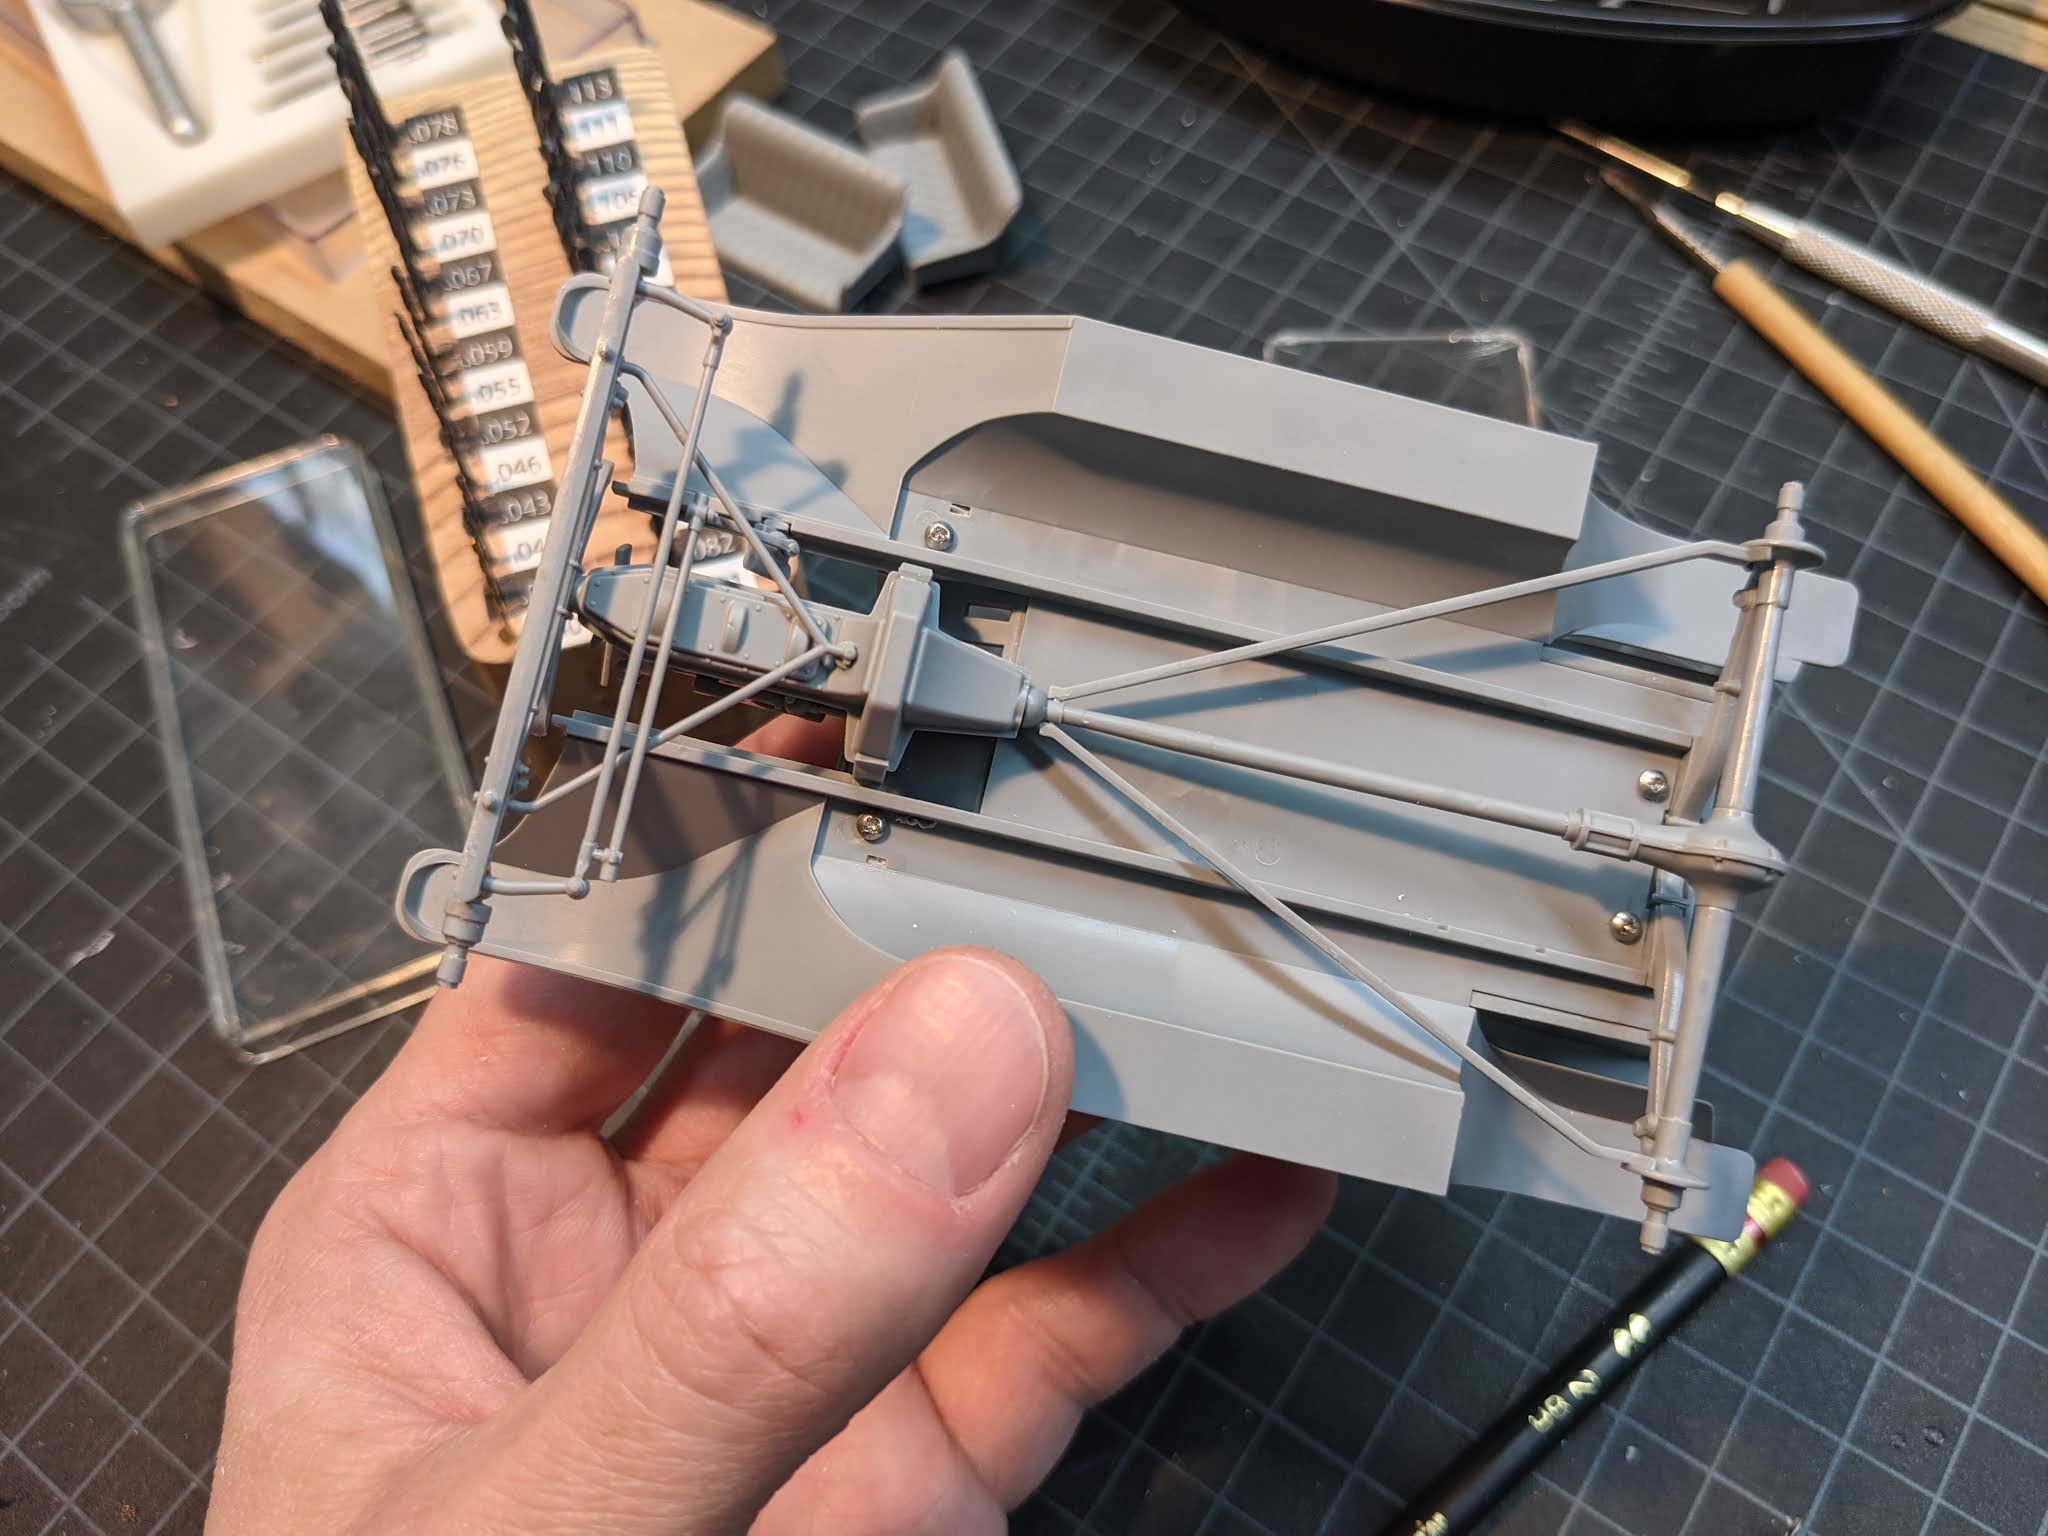
I want to be able to screw on the body from underneath. This will allow me to constantly put it on and remove for the building. The screws also will will pull it down tight with no risk of glue marks. It also means painting will be easier.
I has a hobby sized tap and die set (around $30 on Amazon) which I use a lot. In this case I am using 0-80 size screws.
The body fully screwed down.
Another view showing how tightly it is pulled down.
This kit has some engineering issues. One is that the engine is hitting the top of the fire wall, pushing the front frame down. I took a blade and cut the engine down to fix this.
Using more stock I made a mount so I can screw the engine covers in place like the body.
A view from under the engine panels.
And screwed in place.
That's it for now. I am hopeful that at the end of the next post I will be ready for painting!


These detailed WIP photos give a good insight in scale modeling. I have always loved such photos and its more informative than just the final photos of a completed project. Anyways, I digress. Here's wishing you and yours a happy and safe 2021.
ReplyDeleteThanks! The hope is that these will be useful to someone. I know it wasn't until I saw presentations from other builders on what they did that I was able to level up. Hope things are well with you as well.
Delete