I am building another kit for hire, this time it is a structure for an HO model train layout. Strangely it conjured up a past memory when my girlfriend (now wife) asked me to paint a portrait of her roommates cats.
The kit in question is a two story trackside control tower, a laser cut wood kit by American Model Builders. After the invasion of the Ukraine I am not building military kits and have switched to building Gundams and Megami Device. Now I'm building an HO structure. It's like taking a break from your break.I invited "the client" to an in-person Sprue meeting. He had two HO structures, a water tank and the MO tower. All of the bits of the kits were in a plastic sleeve and not being up to speed on these types I told "the client" that I would need to look these over during the week to give him an idea of how much effort it would take on my part to build them.
Here is the MO Control Tower, lots of parts and lengthy instructions.
Here is the water tower by comparison. I decided to "practice" on this one first. Time to look at the instructions and gather reference.
The instructions are very comprehensive, with lots of drawings and text.
I also found the Age Of Steam Roundhouse, a locomotive museum which was building a working replica. This would satisfy my desire to learn about the logic of its construction and history.
This image is from the AOSR site of the nearly completed tower.
Time to dig in. I lightly penciled part numbers on any of the confusingly similar parts. After parts are removed, they have "nubs" which are the tiny uncut bits that keep them secured. These are essentially the same as a "gate" or "sprue" of a plastic part.
All the "nubs" are removed using a sanding block.
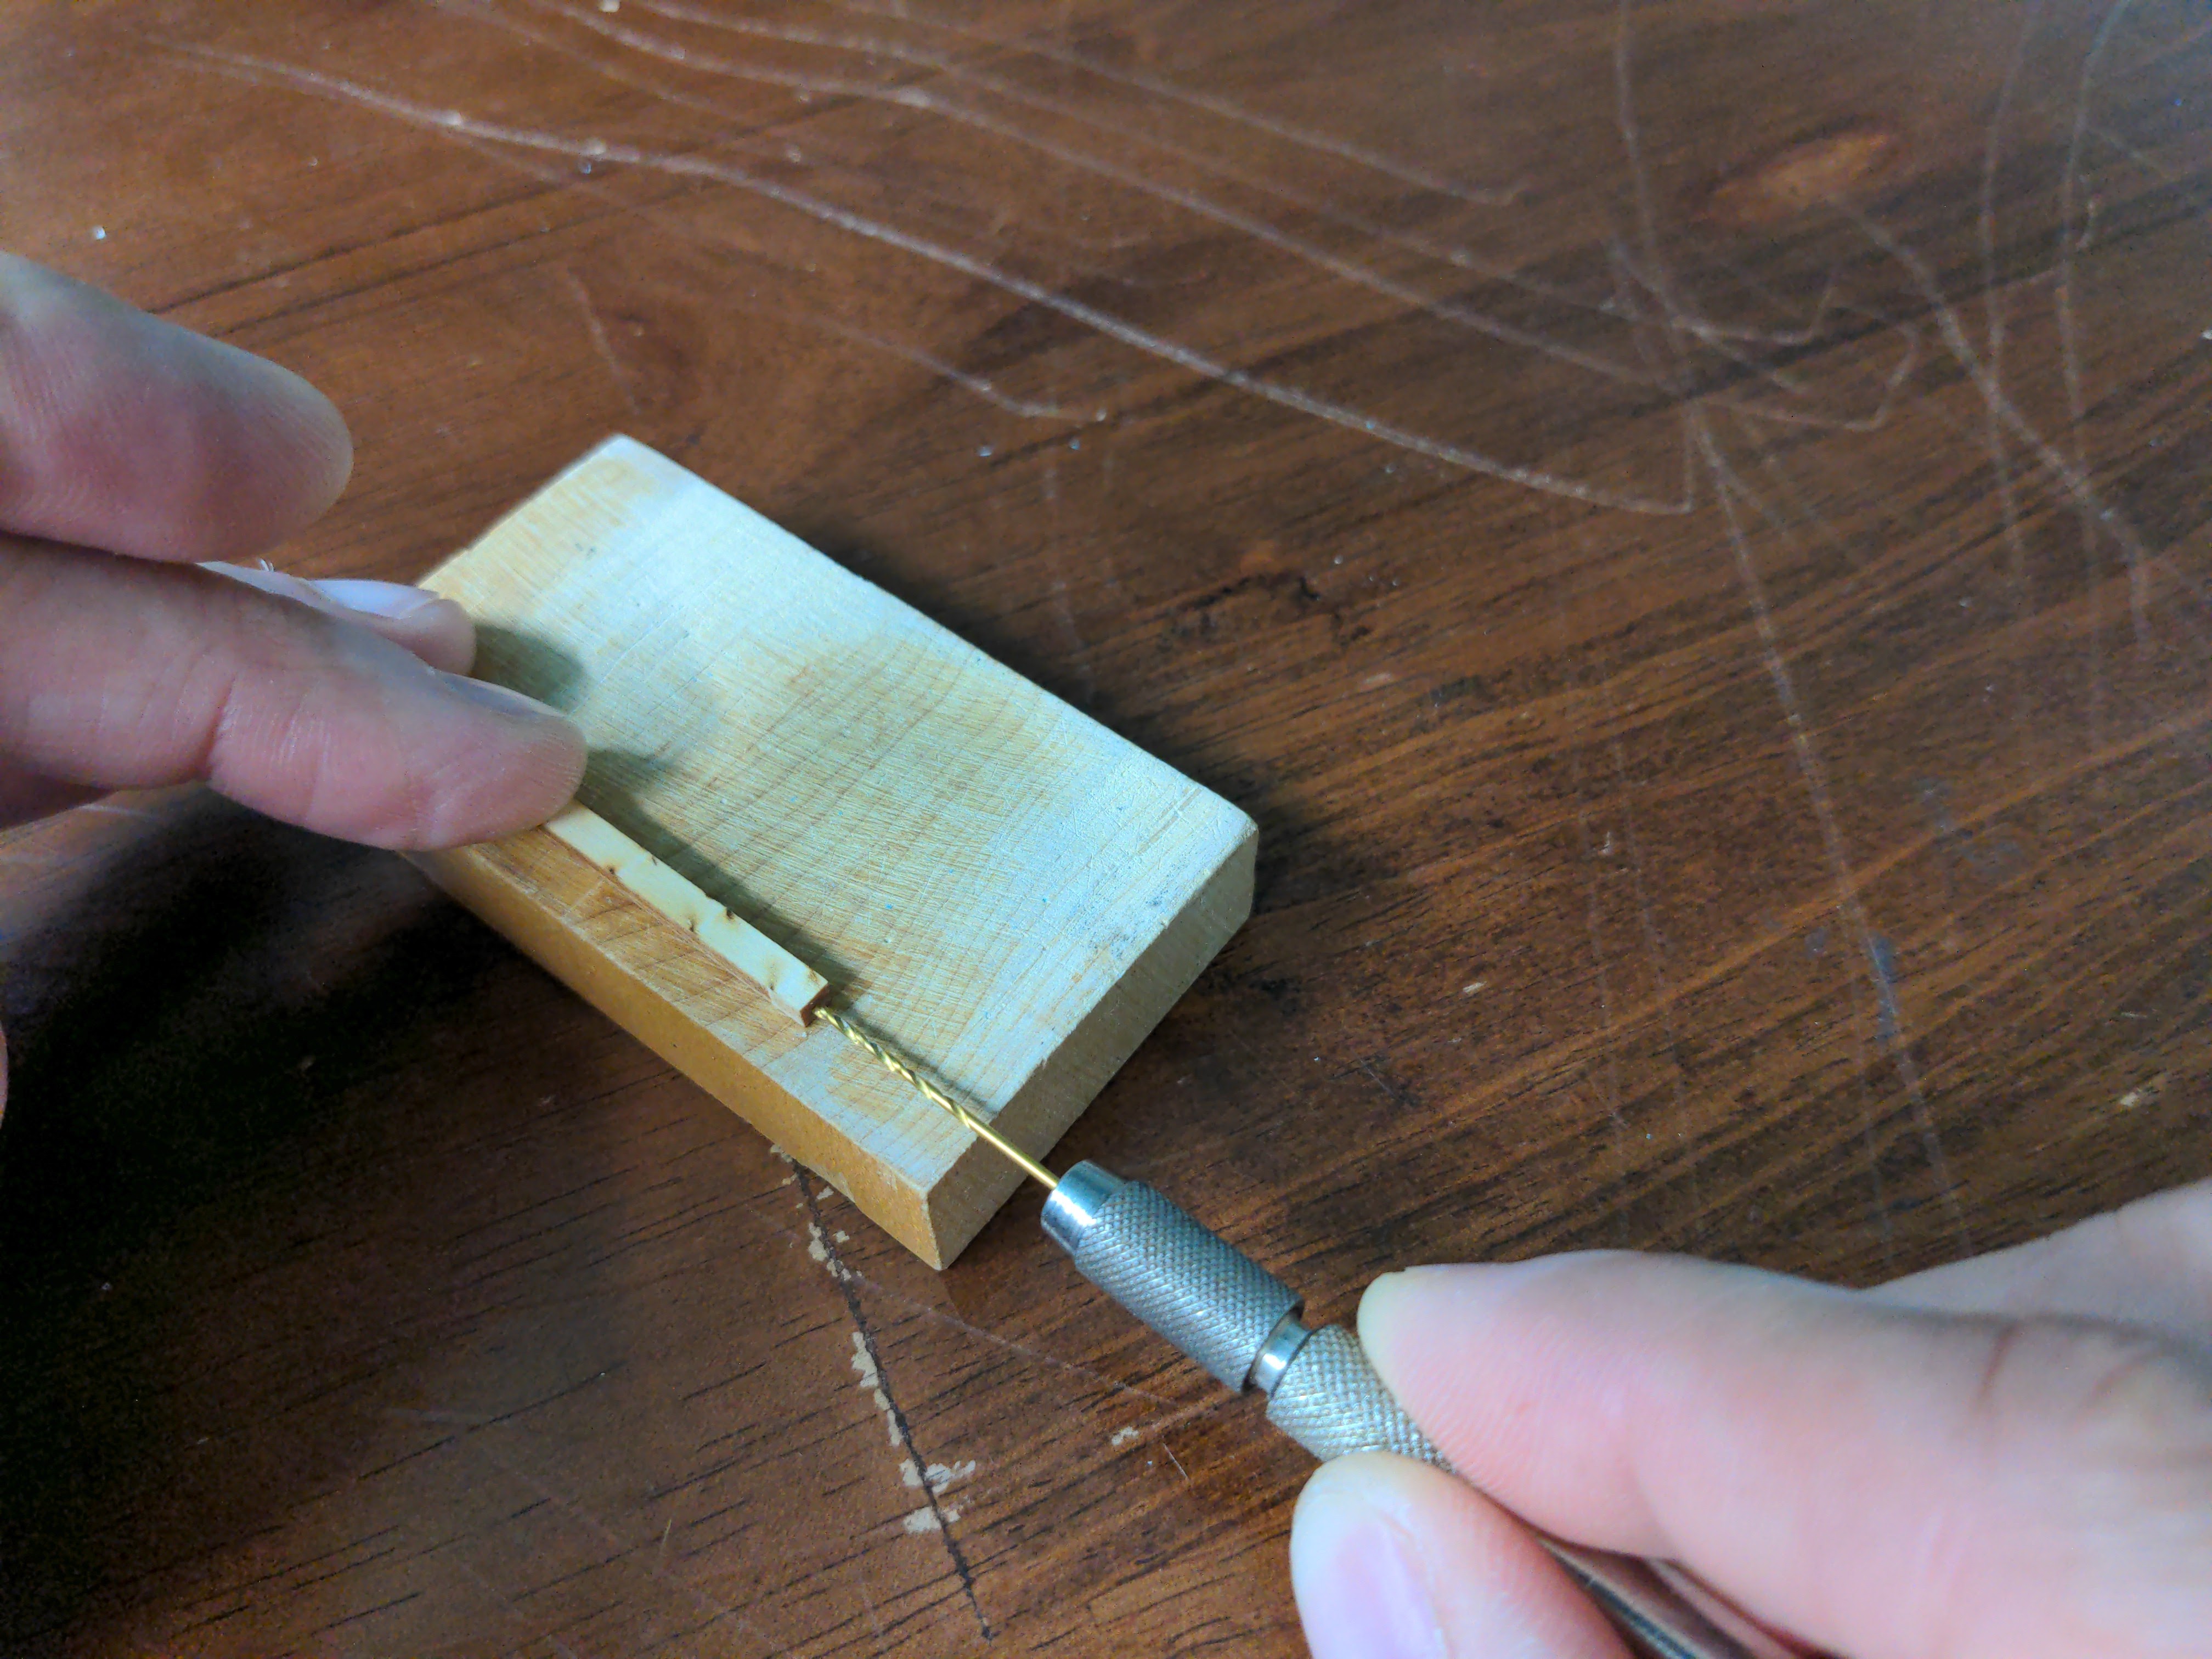
The kit parts are joined "flat on flat". I prefer predetermined locators, such as pins and corresponding holes. Here I'm drilling a hole in one of the tower supports to accept a pin which will match up with a hole in a footer. Pins make construction much less stressful and also give the glue more surface area for a better join. It is easier to drill straight holes by using the flat sides and edges of a block as a reference.
I used toothpicks as my connector pins. In this pic, the exit hole of the upper support brace will be hidden. It is easier to drill all the way through rather than making blind holes.
Before anything is glued, I test fit as much as possible and the pins allow this to happen. The thin wood octagon is meant as the base and template to locate the concrete footers. I found some sheet foam to put underneath which allowed me to push the pins all the way through to support the structure.
The Frost box is several layers of wood that were built around the water pipes under the tank to keep the supply pipes from from freezing. In the kit two bulkheads are supplied as the understructure. I knew this would make building a challenge, so opted to make a solid core of soft balsa instead.
The balsa core was cut slightly oversize so that it could be sanded down for a precise fit. I use a maple block which has square sides and a 90 degree guide (the white plastic) that acts as a guide to sand object perfectly flat and square. The two notches in the top of the balsa are for the support beams under the water tank.
The freeze box panels are peel and stick which is not a favorite of mine as they often unstick over time. I reinforced the bond with super glue.
The panels overlap at the corners, the wider dimension of the core needs to be precise, the other is sanded flush to the narrower panel. Once flush, the other two panels are attached.
The freeze box rests on a white metal concrete footer. I cut a snug balsa "peg", which will be glued to the bottom of the freeze box.
Here it is all pressed together. I'll get the water tank sorted out next. Until next time. Enjoy!


No comments:
Post a Comment